This post may contain affiliate links. If you make a purchase through an affiliate link, I will earn a commission at no extra cost to you. Mama needs some moula to keep this lil blog a truckin’ so thank you for your support. Xo.
These cheesy, dilly perogies are a family favourite. If you’re craving a bit of a lighter perogy, this is it.
Chz Plz.
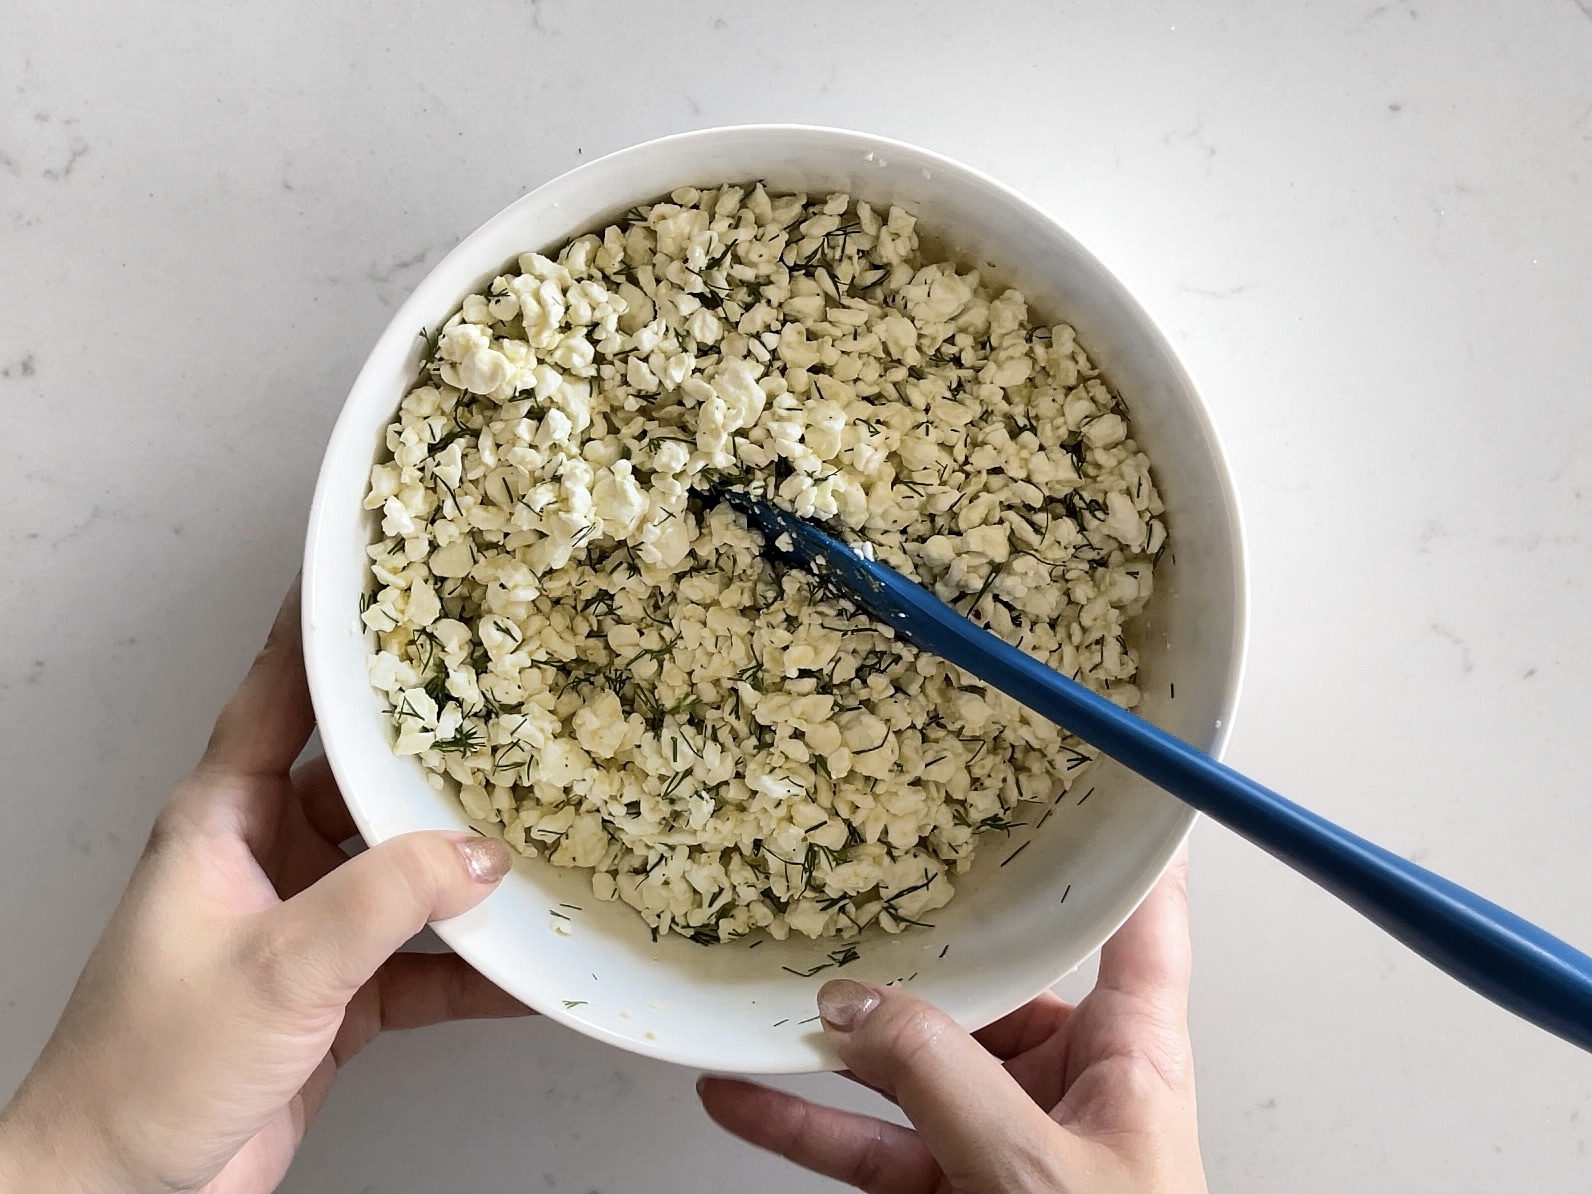
Let’s talk cottage cheese. It’s very important that you purchase dry curd cottage cheese for this recipe. Regular cottage cheese has too much liquid in it and I think you can probably imagine what it would do to this filling. No soggy perogies allowed in this kitchen.
A House Fav.
My husband grew up eating cottage cheese verenika and therefore this style of perogy remains his favourite. And now it’s one of my favourite’s too. I added a hefty amount of dill to this filling to give it those Ukrainian vibes. I love serving these lighter perogies alongside my Potato & Cheddar Perogies a nice contrast. I mean, a lighter perogy means you can eat more so it’s a win for me.
Be sure to make my Perogy Dough in preparation for this recipe!
Check out the recipe video below for a tutorial on how to make these addicting, cheesy perogies.
Cottage Cheese & Dill Perogies
Ingredients
Filling
- 600 g container dry curd cottage cheese
- 2 tbsp chopped fresh dill
- 2 eggs whisked
- 1 tsp garlic powder
- sea salt and black pepper
Additional Ingredients
- Perogy Dough*
- 1 tbsp olive oil optional
- 1 tbsp butter olive oil
Instructions
- Combine the filling ingredients in a medium size bowl and set aside.
- Cut the perogy dough in half. You will use half of the dough at a time so wrap up the remaining dough in the plastic wrap so it doesn’t dry out.
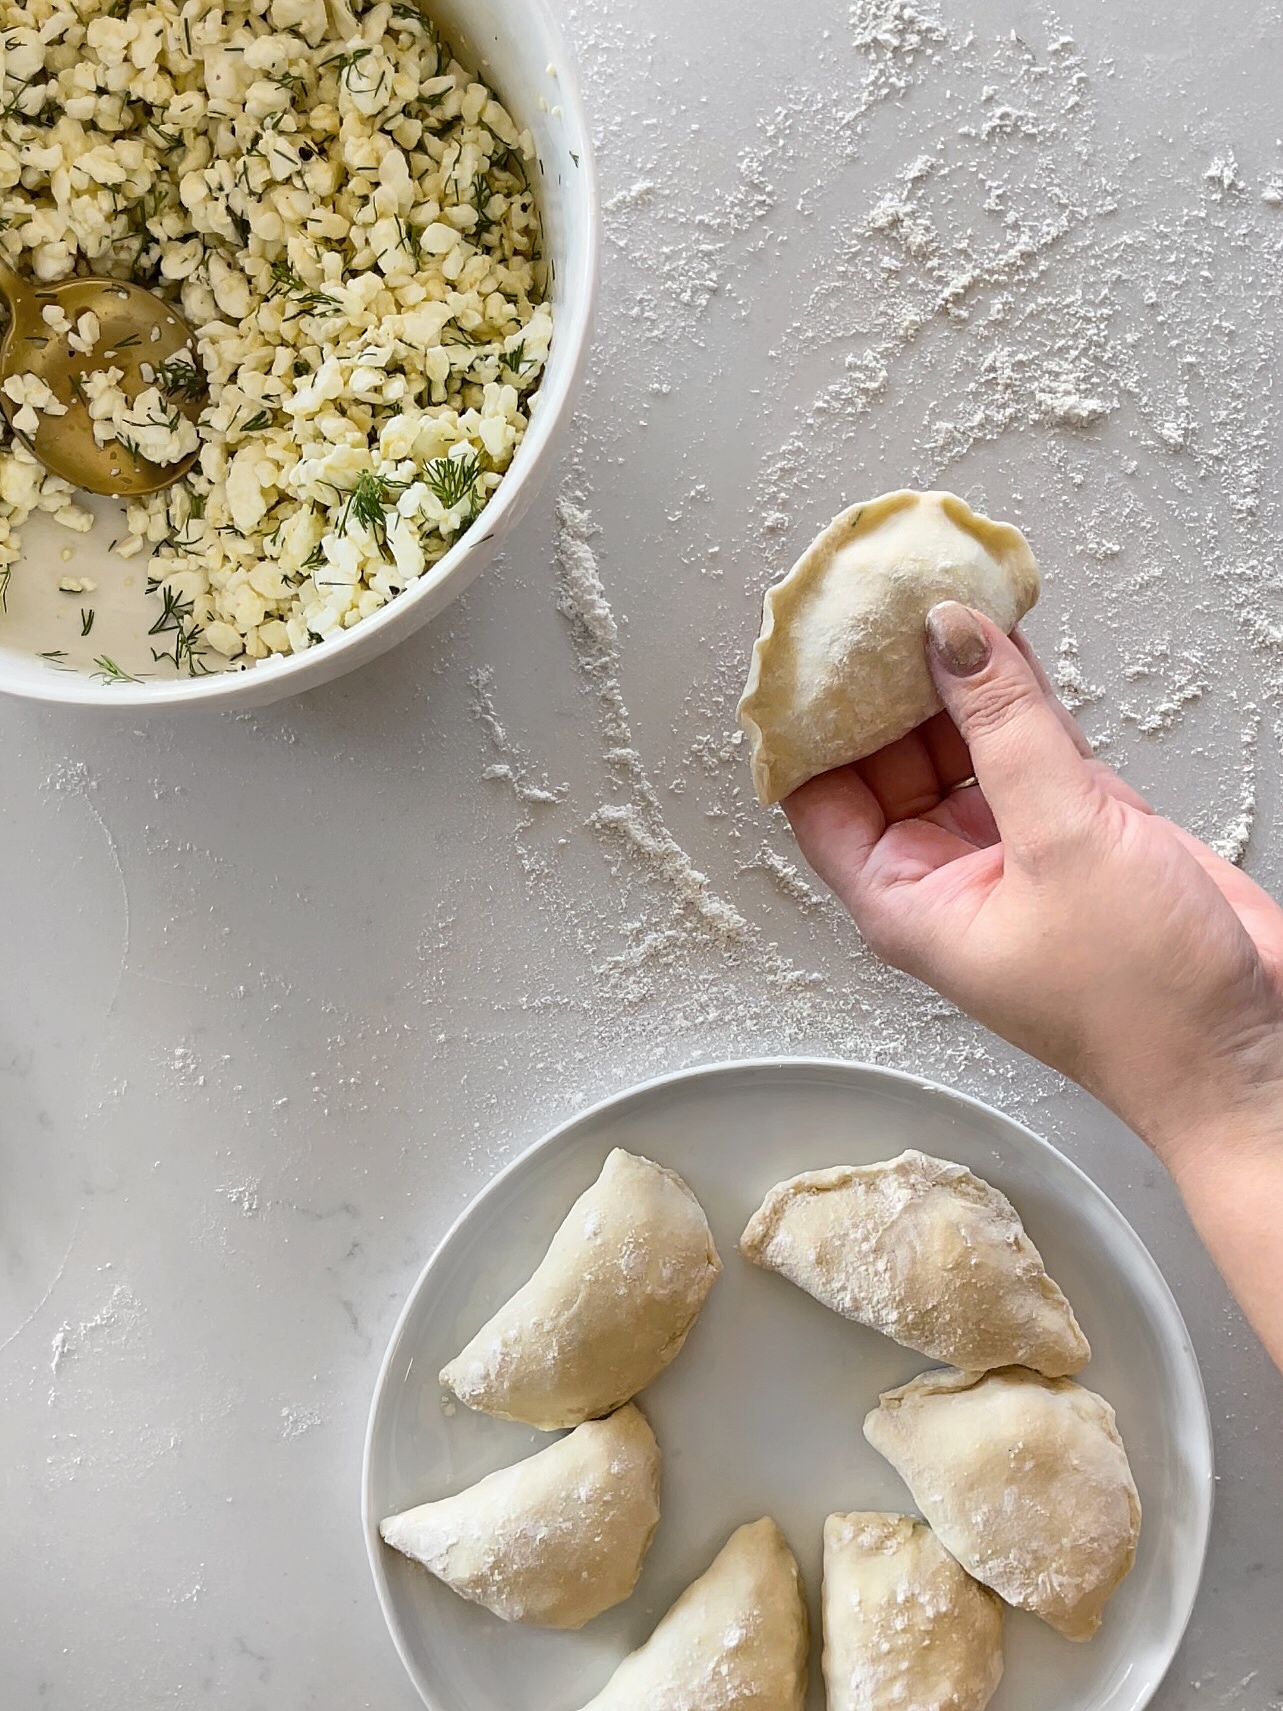
- Roll the dough to a thickness of 2mm and cut out rounds using a cookie cutter, perogy cutter, or a glass of some sort (a wine glass is a good option). Gather up the excess dough and knead into a ball. Cover with plastic wrap and let rest at least 30 minutes before you try rolling it out again.
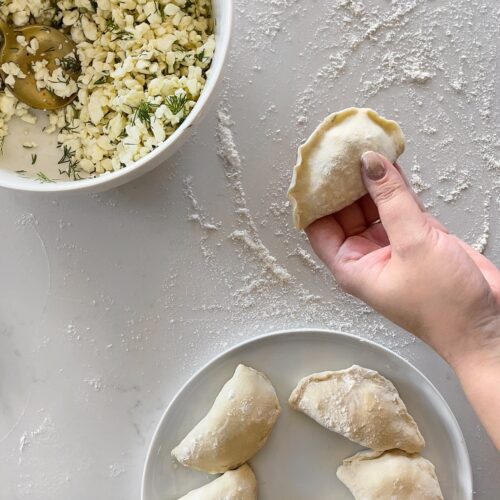
- Place about 1-2 tbsp (depending on the size of your round) of your filling in the centre of a dough round, fold the dough over the filling and pinch the dough closed around the edges. When you are pinching the perogy closed, make sure there are no gaps or filling poking out or your perogy will fall apart when it boils.
- Place the perogy on a flour dusted baking tray and repeat with the rest of your filling.
- At this point, you can cook your perogies straight away or you can freeze them.
- If freezing, place the baking tray in the freezer for several hours or until perogies are frozen solid. Once frozen, place the perogies in a freezer bag and store in the freezer until you feel that perogy craving.
- To cook the perogies, heat a large pot of salted water until it’s boiling.
- Drop your desired amount of perogies into the boiling water. Once the perogies float to the top of the water, boil another 5 minutes.
- While your perogies are in their bath, heat a skillet over medium heat.
- When your perogies are nearly finished, add the oil and butter to the skillet.
- Drain the perogies.
- Transfer the perogies to the skillet and fry for about 3-5 minutes on each side or until golden brown.
- Serve with lots of sour cream.